To follow on from the article showing how we store and pack the products we sell, today we focus on the prior stage- testing those items before they go into our stock. We focus on system boards, screens and hard drives with refurbished items going through a rigorous testing process before being available for sale or sent out to customers.
Hard drive testing
As well as testing a drive is working it is essential in the interests of confidentiality and data protection that no drive goes into stock with any data on it. The process of wiping drives must be traceable on a drive by drive basis with documented proof it has taken place.
Firstly the physical condition of drives are checked first by the warehouse goods in team and then by an engineer. Common places where damage can occur are the corners, often if a drive has been dropped, or on the connector when the drive was removed from a machine. After this the health of the drive is checked.
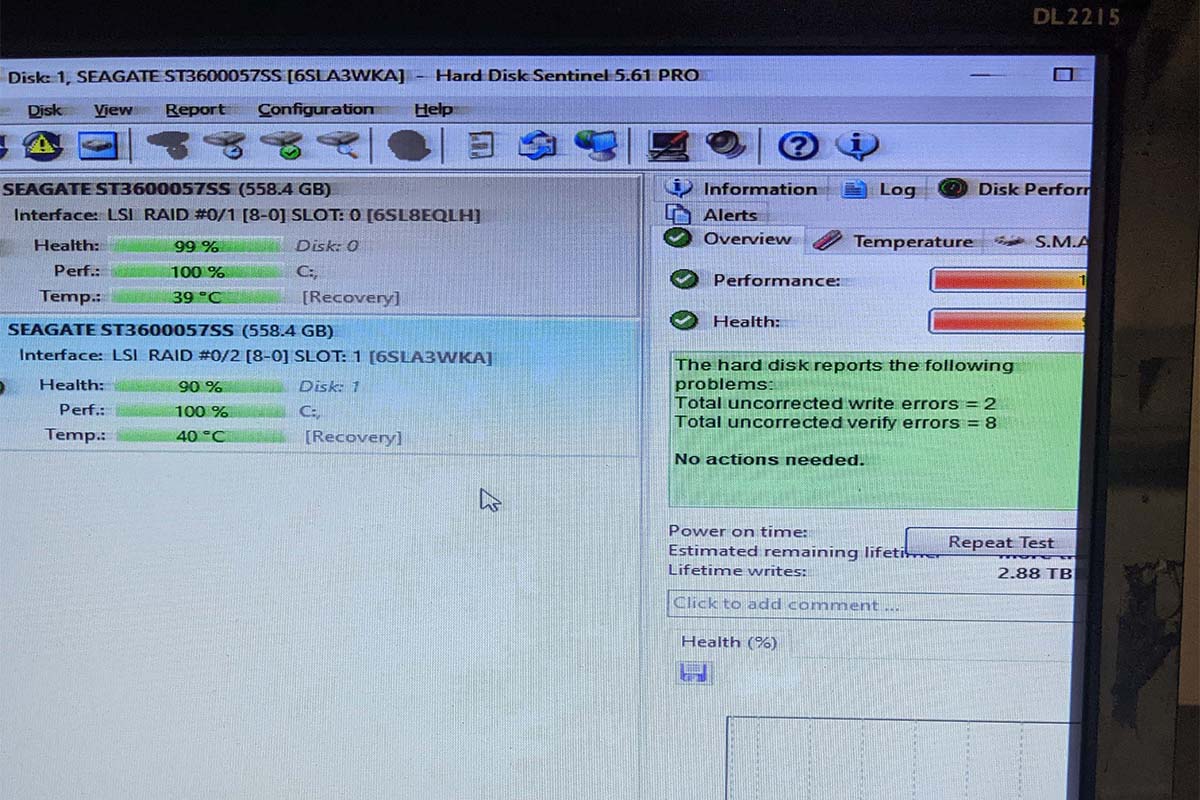
The health of the drive is checked using a program called HD Sentinel. This checks the drive’s onboard SMART information which includes the drives overall health, the number of bad sectors and how long the drive has run for. The information can be used to check for drives that are already defective or are possibly about to fail.
With the drive’s health checked the next stage is to use a second program called Killdisk to wipe any information on the drive. This is done by a zero pass wipe, every byte in every sector is set to a zero removing any data that was stored there. A test report is produced by the software which is a record that this has taken place, this report is created for each drive and contains the drive’s serial to ensure traceability.
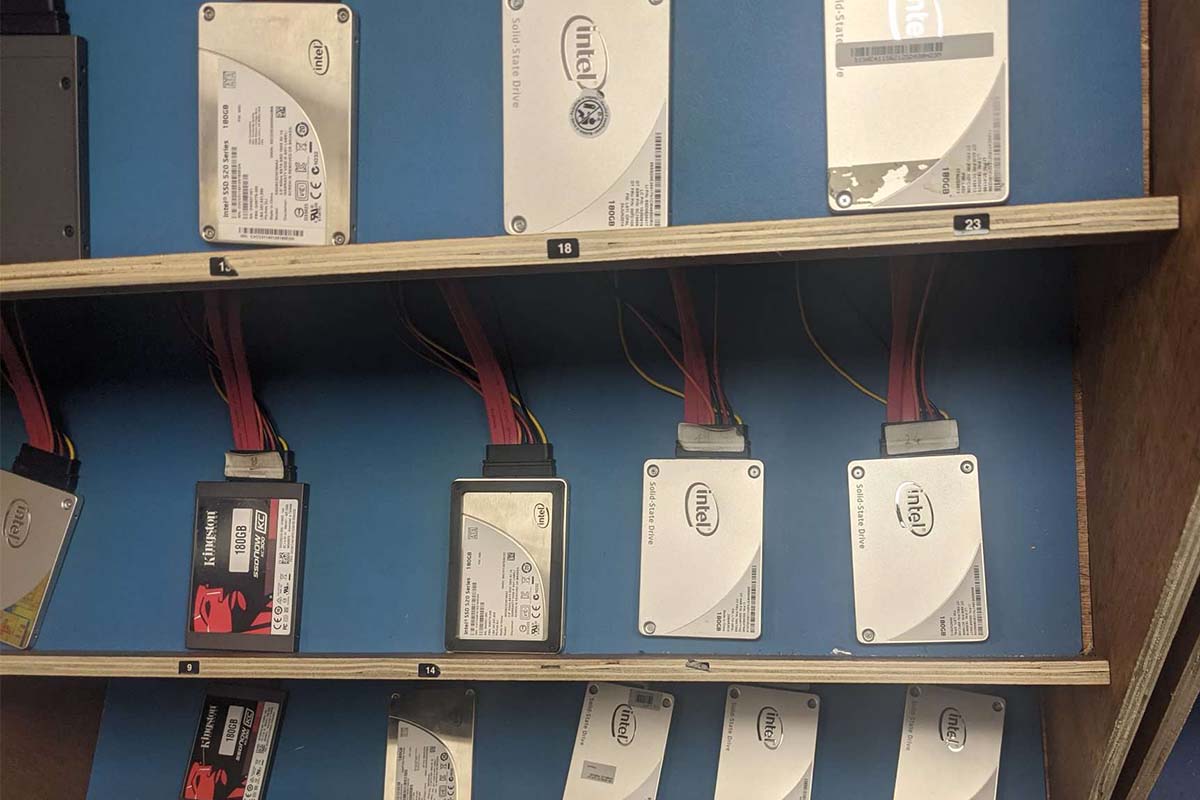
Finally the working drives are placed back into anti static bags, complete with their paper test report on the outside ready to go into stock. Having the paper test report with the drive gives the customer peace of mind the drive is working and does not contain data. It also acts as a last check in the warehouse as any drive found without a report returns to engineering to be tested again.
System Board Testing
Whilst the process for testing server, laptop and desktop boards is largely similar, here we focus more on the process for laptop and desktop boards.
The initial physical checks are carried out by the warehouse’s goods in team followed by an engineer. This checks for any physical damage to the board. This can often include damage to board’s connectors obtained either in use or when the board is removed. Some of the most common issues can involve damage to the plastic surrounding the battery connector or to a USB port. It is also important to check for liquid damage i.e. no signs any liquid has been spilt on the board and that none of the CPU pins have been bent.
Assuming the physical checks have been passed the electronic checks are then undertaken. For this the board is built into a test rig. These are sets of components from a model of machine (e.g. memory, power button) that provide the functionality for the board to boot. The board’s BIOS is checked to make sure there are no passwords set and that it is up to date. The machine is then booted into Windows for further checks. All input/output is checked e.g. USB ports and sound to ensure everything is functioning.
The software PC-Check is used to perform a deep diagnostic test on the machine and by extension the board. It gives a detailed specification of the set up and checks aspects such as the memory and network interfaces are functioning correctly. These checks produce a printable report unique to the board’s serial number which is then stored electronically and on paper for traceability. Stress tests can also be performed on boards and machines as required. This involves using software to subject the machine to very high levels of usage to simulate long term use.
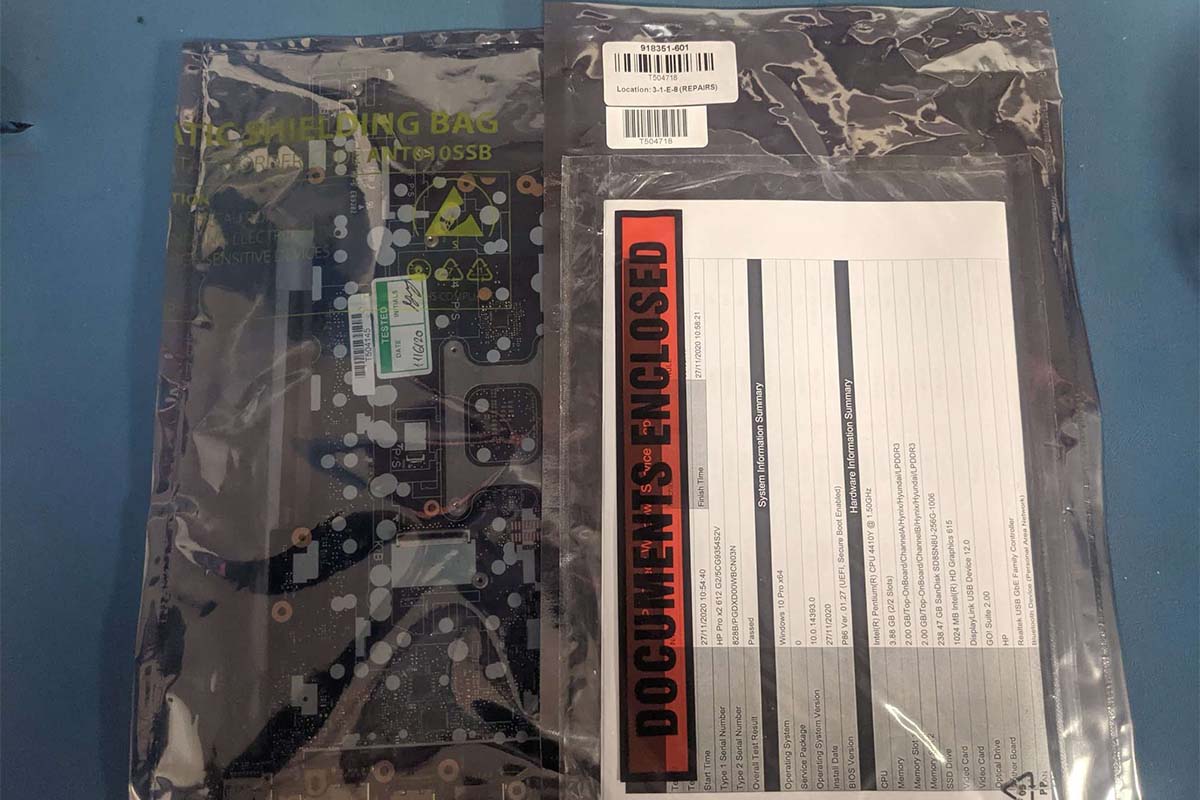
Each check in this process is signed off by an engineer and co-signed by a supervisor to ensure it has been carried out correctly. Finally the boards that pass are placed into anti static bags along with the paper copies of their test report ready to be placed into stock.
LCD Screens
The process for testing LCD screens is somewhat quicker than the previous 2 items but still follows a similar combination of physical and electronic checks.
Initially the screens are checked on arrival by the warehouse’s goods in team. Once these have been booked in and moved to engineering test locations the screens are then checked again by an engineer. The physical checks include looking for any damage to the corners of the screen or the connectors. It is also possible to bend a screen when removing it from a machine so it is important to check the shape of a panel and that it is still flat. It is important to visually check the front of the screen itself, looking for scratches and blemishes. Any screens with physical problems can be rejected at this stage.
Next the screen is powered on to check for image quality and any defects including tab faults and dead pixels. In order to test screens engineering has a number of test rigs, these are partially built up laptops that support the various 30 and 40 pin connectors on the screens that are received. Certain screen assemblies such as those with touch screens may require a more specialist test rig than others.
When encountering screens with dead pixels the company adheres to the ISO 13406-2 class 2 standard. In that 2 dead pixels (those no longer displaying the correct colour) can be allowed on a screen, however this is down to the engineers to make a judgement call if they are clustered together and seriously degrading image quality a screen will still be rejected.
Finally a test sticker is placed on the screens that passed and they are relocated to the warehouse ready to be stocked.


